Are you dreaming of a kitchen island that fits your space perfectly without breaking the bank? Using Ikea cabinets to build your own kitchen island might be the easiest and smartest way to get there.
Imagine having extra countertop space for meal prep, more storage for your kitchen essentials, and a stylish centerpiece tailored exactly to your taste—all without the hassle of custom cabinetry prices. In this guide, you’ll learn step-by-step how to transform simple Ikea cabinets into a functional and beautiful kitchen island.
Whether you want a cozy breakfast bar or a spacious work hub, this DIY project puts you in control. Ready to unlock your kitchen’s full potential? Keep reading to discover how you can make it happen.

Credit: flynnhaus.com
Choosing The Right Ikea Cabinets
Choosing the right Ikea cabinets is key to building a functional kitchen island. Cabinets determine the island’s style, storage, and size. Ikea offers many options that fit different needs and budgets. Knowing which cabinets work best helps create a kitchen island that looks great and serves your daily tasks well.
Popular Cabinet Models For Islands
Ikea’s Metod series is popular for kitchen islands. These cabinets come in various finishes and sizes. They offer sturdy frames and easy assembly. Another favorite is the Sektion line, known for flexibility and quality. Both lines support custom countertop installation. Choose models designed for kitchen use for durability and style.
Considering Storage Needs
Think about what you want to store in the island. Drawers are great for utensils and small tools. Cabinets with shelves fit pots, pans, and larger items. Open shelving can show decorative pieces or cookbooks. Include pull-out trays or baskets for easy access. Good storage choices make cooking more efficient and your kitchen neater.
Selecting Cabinet Sizes And Configurations
Measure your kitchen space carefully before picking cabinet sizes. Standard widths range from 12 to 36 inches. Depth and height should match your countertop and kitchen flow. Combine different cabinet types for a balanced look. For example, place drawers on one side and cupboards on another. Proper sizing keeps the island comfortable and functional.
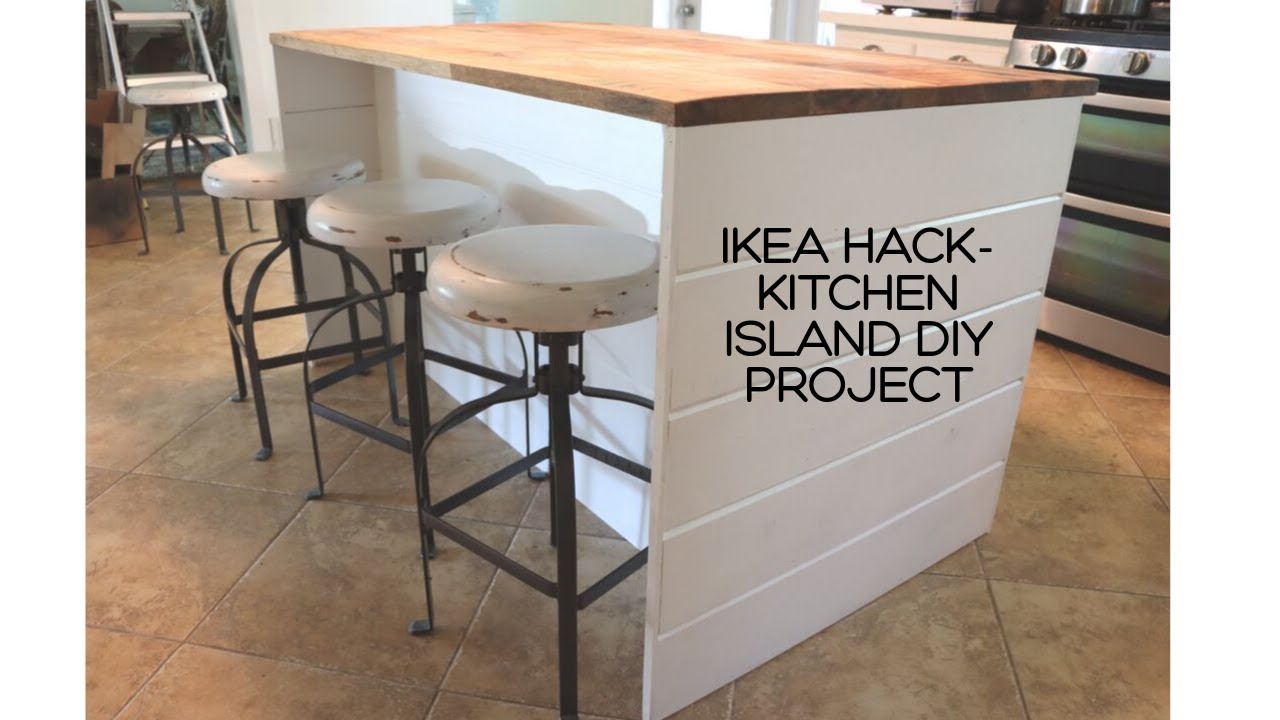
Credit: www.youtube.com
Planning Your Kitchen Island Design
Planning your kitchen island design is the first step in creating a functional and stylish centerpiece. Careful thought ensures the island fits your kitchen space perfectly. It also meets your daily cooking and social needs. Consider the size, purpose, and features before buying Ikea cabinets.
Start with a clear idea. This helps you avoid costly mistakes and wasted materials. Your kitchen island can transform your cooking area with the right planning.
Determining Island Dimensions
Measure your kitchen space accurately before choosing island size. Leave at least 36 inches around the island for easy movement. Consider how many people will use the island at once. A small kitchen needs a compact island. Larger kitchens allow for bigger islands with more features. Keep proportions balanced to avoid crowding your space.
Deciding On Island Functionality
Think about what tasks you want your island to serve. Use it for food prep, cooking, or as a serving station. Add appliances like a cooktop or sink if needed. Some islands focus on extra storage or display space. Decide if you want a multi-purpose island or a single function. Clear purpose guides your cabinet and countertop choices.
Incorporating Seating And Storage
Seating turns your island into a social spot for meals and chats. Plan space for stools or chairs at one side. Make sure there is enough legroom under the countertop. Storage is vital for keeping kitchen tools handy. Use Ikea cabinets with drawers and shelves for organized storage. Combine open and closed storage to balance style and function. This keeps your kitchen tidy and welcoming.
Preparing The Workspace
Preparing the workspace is the first step to building your kitchen island using Ikea cabinets. A clean and organized area makes assembly easier and safer. Setting up your tools and checking the floor support prevents problems during installation. Take time to get everything ready before starting the project.
Clearing The Area
Remove all items from the kitchen space where the island will go. Clear countertops, floors, and nearby cabinets. This gives you room to move and work freely. It also protects your belongings from dust and damage. Make sure the area is well-lit and ventilated.
Gathering Tools And Materials
Collect all tools needed for assembly before you begin. Common tools include a drill, screwdriver, level, tape measure, and clamps. Have your Ikea cabinet instructions and hardware ready. Keep everything within reach to save time. Organize screws and small parts in containers to avoid loss.
Ensuring Proper Flooring Support
Check the kitchen floor for strength and stability. The island will add weight, so the floor must support it well. Look for weak spots, loose tiles, or uneven surfaces. Use a level to verify flatness. Reinforce the floor if necessary before placing the cabinets.
Credit: erinzubotdesign.com
Assembling The Ikea Cabinets
Assembling Ikea cabinets is the core step in building your kitchen island. It sets the base for a sturdy and functional piece. Pay close attention to the instructions and take your time. Proper assembly ensures a smooth build and a lasting result.
Following Ikea Assembly Instructions
Start by unpacking all parts carefully. Check the instruction manual for the specific cabinet model. Follow each step in order to avoid mistakes. Use the tools suggested by Ikea for best results. Lay out all pieces before assembling to stay organized. Tighten screws firmly but avoid over-tightening. This prevents damage to the panels. Take your time; rushing can cause errors.
Customizing Cabinet Placement
Arrange the cabinets based on your kitchen island design. Think about storage needs and workflow. Place larger cabinets where you want more space. Consider leaving room for seating if needed. Measure the available floor space before finalizing placement. You can mix cabinet sizes for a unique look. Test different layouts to find the most practical setup.
Securing Cabinets Together
Once placed, join the cabinets to form a solid unit. Use the provided connector screws or brackets for stability. Align cabinets carefully before tightening connectors. Check that all edges are flush and even. Adding clamps can help hold pieces during fastening. Secure cabinets prevent wobbling and improve durability. Double-check connections before moving on to countertop installation.
Adding A Countertop
Adding a countertop to your kitchen island is a key step. It completes the look and makes the island functional. The countertop is where you will prep food, eat, and gather around. Choosing the right material, measuring accurately, and securing the countertop well matter for a great finish.
Choosing Materials For The Countertop
Pick a countertop material that fits your style and budget. Common options include wood, laminate, and stone. Wood offers warmth and can be sanded if damaged. Laminate is affordable and easy to clean. Stone, like granite or quartz, is durable but pricier. Consider how much use the countertop will get before deciding.
Measuring And Cutting To Size
Measure your Ikea cabinets carefully before cutting the countertop. Add a small overhang of about one inch on each side for a finished look. Use a tape measure and mark the cutting lines clearly. If using wood or laminate, a circular saw works well. For stone, get it cut professionally to avoid damage.
Attaching The Countertop Securely
Secure the countertop firmly to the Ikea cabinets to prevent movement. Use screws or brackets designed for countertops. Drill pilot holes to avoid splitting wood. Apply a bead of waterproof adhesive or silicone sealant between the countertop and cabinets. Tighten all fasteners evenly and check for stability before use.
Customizing The Island Exterior
Customizing the exterior of your kitchen island transforms simple Ikea cabinets into a unique centerpiece. This step lets you add personality and style to your space. A well-finished exterior also protects the cabinets and ensures durability.
Focus on details like panels, paint, and hardware to achieve a polished look. These small touches make a big difference in your kitchen’s overall feel.
Adding Decorative Panels And Trim
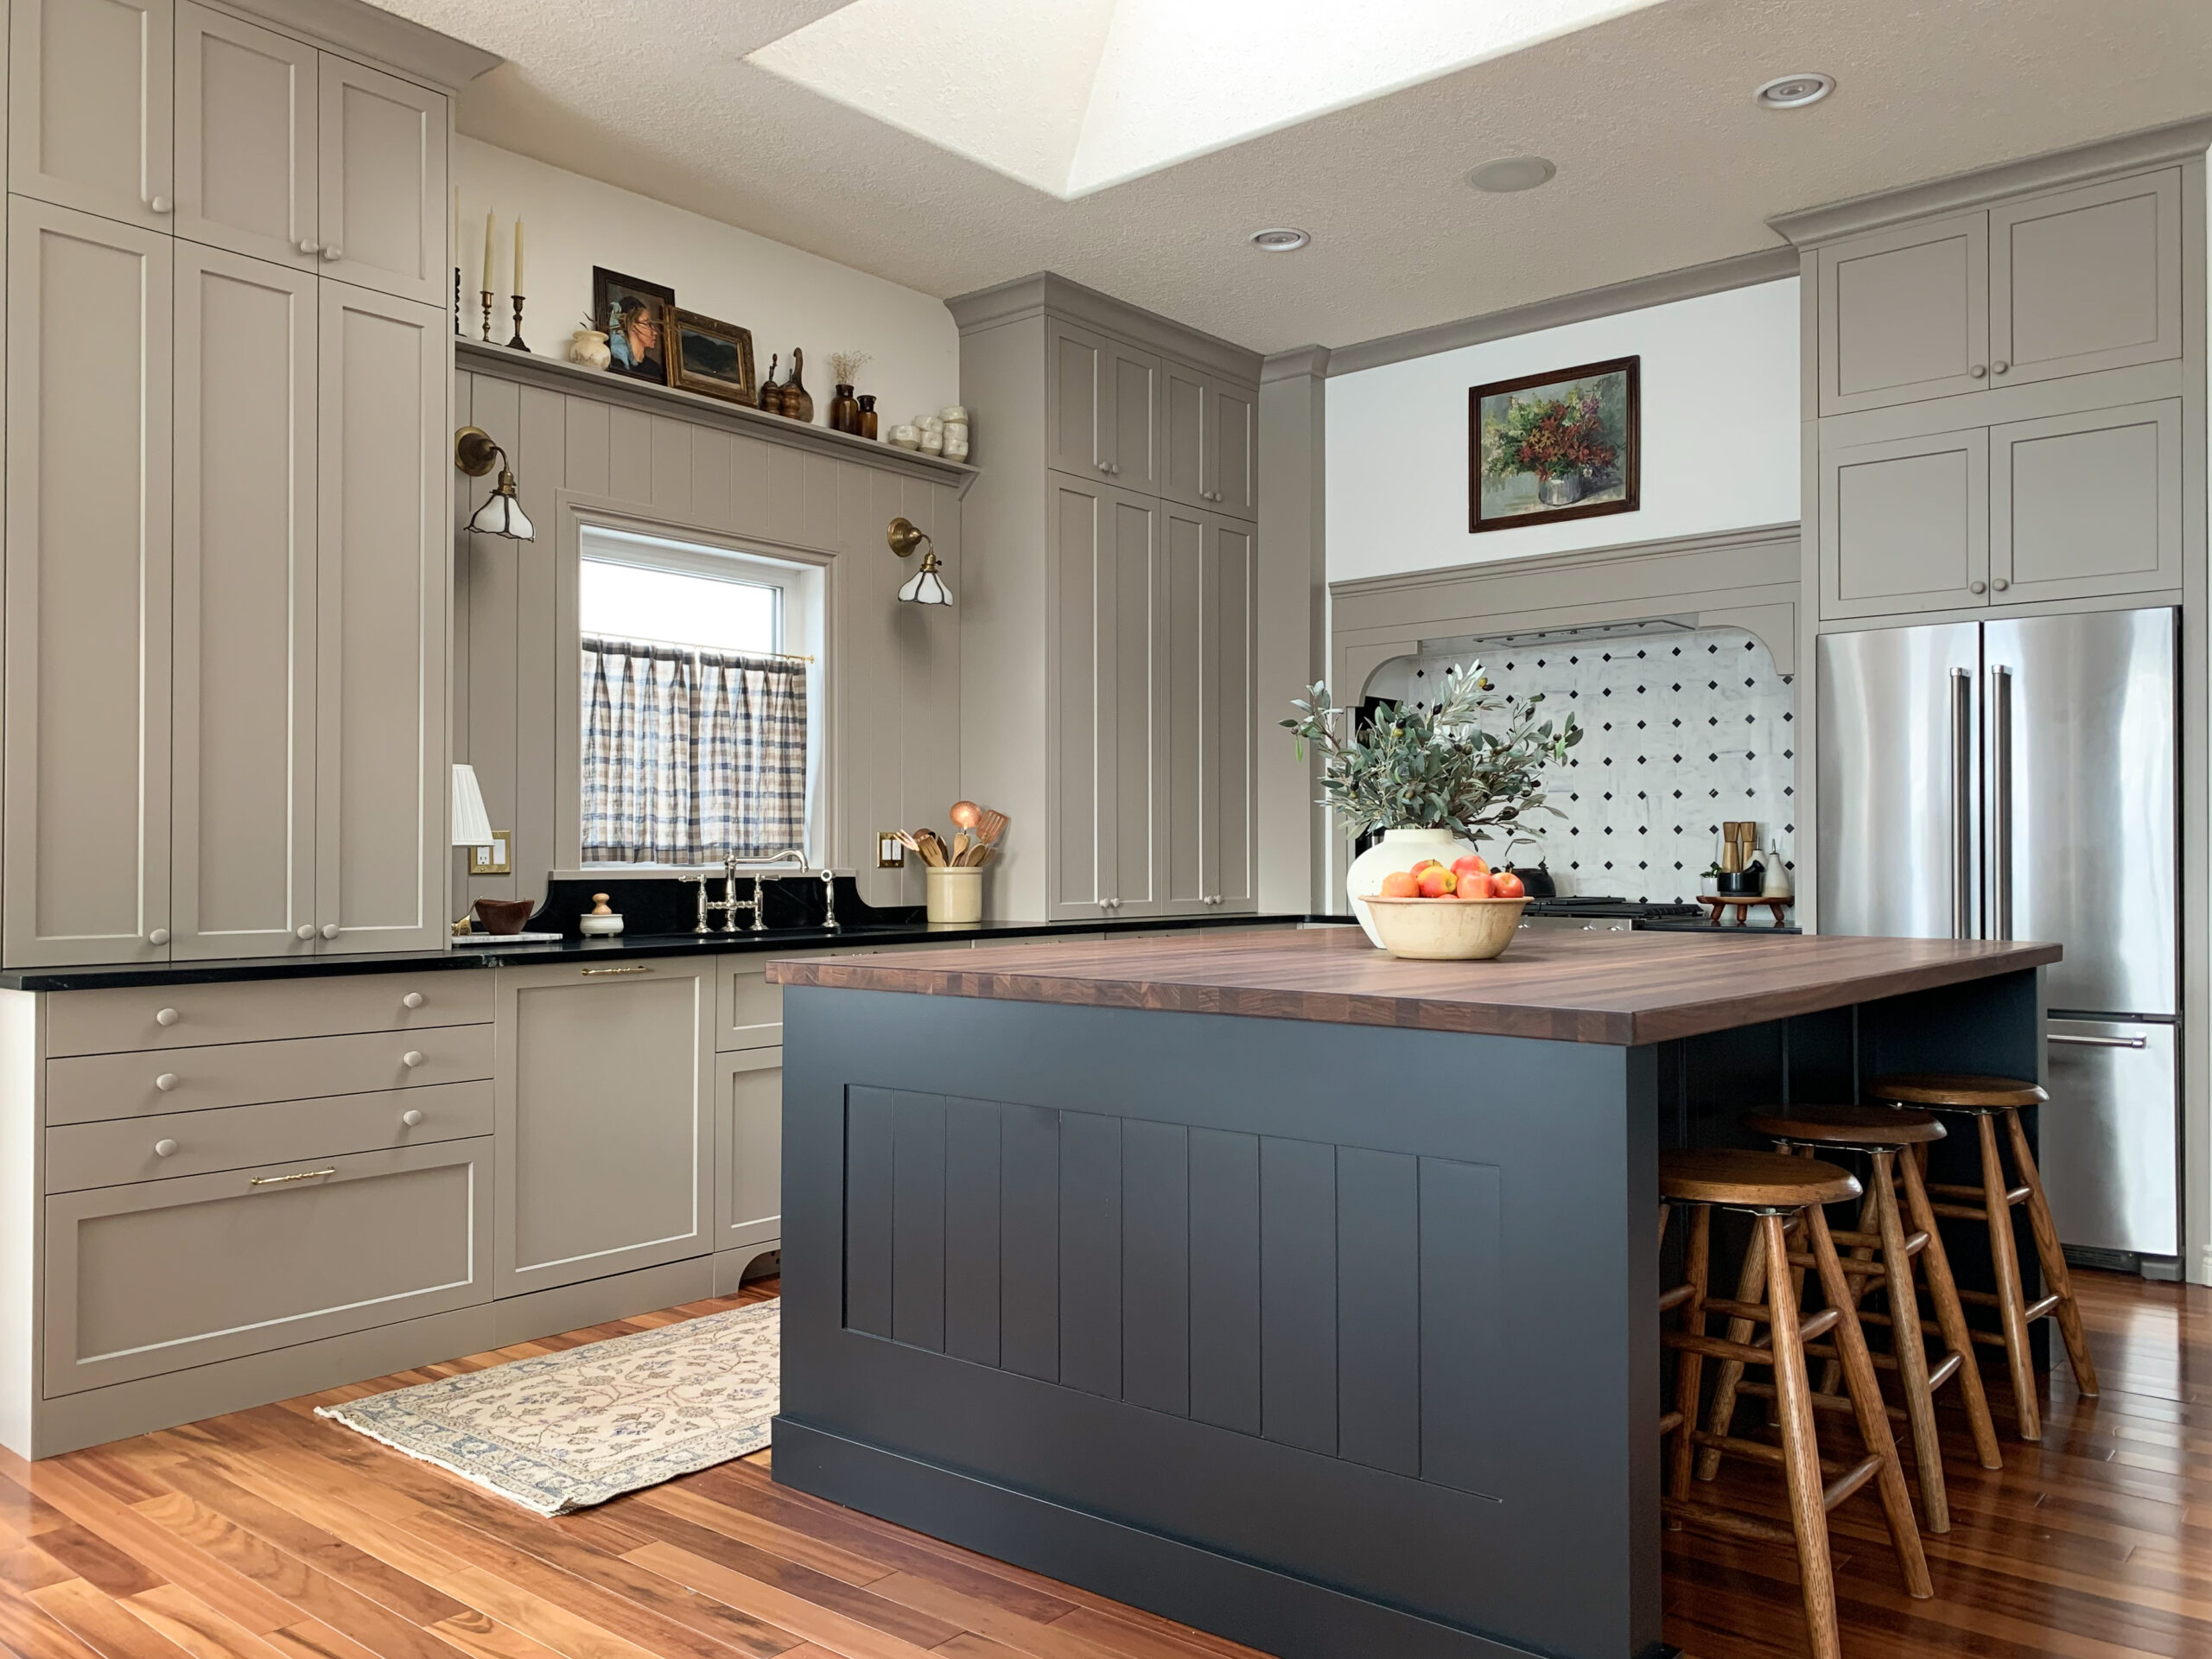
Decorative panels give your island a custom look that matches your kitchen style. Use shiplap, beadboard, or flat panels on the sides and ends. Trim pieces help frame the panels and add depth. Choose trim that suits your design theme, such as modern or farmhouse. Attach panels and trim with wood glue and small nails for a secure fit. This step hides cabinet seams and gives a furniture-like finish.
Painting And Finishing Touches
Painting is key to making your island stand out. Pick a color that complements your kitchen palette. Use primer first to cover the original cabinet finish. Then, apply two or more coats of paint for solid coverage. Satin or semi-gloss finishes work well in kitchens because they clean easily. Sand lightly between coats for a smooth surface. Add a clear protective topcoat to increase durability and resist stains.
Installing Hardware And Accessories
Hardware completes your island’s appearance and boosts functionality. Choose handles or knobs that match your kitchen style. Install them on drawers and doors using a drill and screwdriver. Accessories like towel bars, hooks, or small shelves add convenience. Consider adding casters to make the island mobile. These details improve usability and give your kitchen island a polished, professional look.
Incorporating Functional Features
Incorporating functional features into your kitchen island made from Ikea cabinets enhances usability and convenience. These features transform a simple island into a practical workspace. Thoughtful additions can make cooking and entertaining easier. Consider electrical outlets, lighting, and mobility options for a versatile kitchen island.
Adding Electrical Outlets
Electrical outlets provide power for small appliances and gadgets. Installing outlets on the side of the island keeps cords organized and accessible. Plan the placement to avoid clutter and ensure safety. Use outlets with USB ports for charging devices. This upgrade increases the island’s functionality during meal prep.
Installing Lighting Options
Good lighting brightens your workspace and sets the mood. Under-cabinet LED strips create focused light on the countertop. Pendant lights above the island add style and ample illumination. Choose warm lights for a cozy atmosphere. Proper lighting improves visibility and makes the kitchen island inviting.
Including Mobility With Casters
Adding casters lets you move the island as needed. Lockable wheels keep it stable during use. Mobility helps when cleaning or rearranging the kitchen layout. Choose heavy-duty casters that support the island’s weight. A movable island adapts to different tasks and spaces easily.
Maintaining Your Kitchen Island
Maintaining your kitchen island is key to keeping it functional and beautiful. Proper care extends the life of your Ikea cabinets and countertops. It also keeps your kitchen looking fresh and tidy. Simple routines and timely upgrades help prevent damage and wear. Follow these tips to preserve your kitchen island’s charm and usefulness.
Cleaning Tips For Cabinets And Countertops
Use a soft cloth and mild soap for regular cleaning. Avoid harsh chemicals that can damage surfaces. Wipe spills immediately to prevent stains. For wooden countertops, apply oil to keep the wood healthy. Clean cabinet doors gently to avoid scratching. Regular dusting prevents buildup in corners and edges.
Handling Wear And Tear
Inspect your island often for scratches, dents, or loose handles. Tighten screws and hinges to keep doors secure. Use touch-up markers for small scratches on cabinets. Avoid cutting directly on countertops to prevent damage. Place mats or trays under heavy items to protect surfaces. Address problems early to stop them from worsening.
Upgrading Components Over Time
Replace worn-out hardware like knobs and pulls for a fresh look. Consider adding organizers inside cabinets to improve storage. Swap old countertops with new materials for style and durability. Add lighting to brighten work areas and enhance ambiance. Upgrading parts keeps your kitchen island modern and efficient. Small changes can make a big difference over time.
Frequently Asked Questions
Can You Make A Kitchen Island With Ikea Cabinets?
Yes, you can make a kitchen island with IKEA cabinets. Use Metod or standard models for storage and customize the design to fit your needs.
Can You Make A Kitchen Island Out Of Cabinets?
Yes, you can make a kitchen island using cabinets. Cabinets provide storage and a sturdy base for the countertop. Customize the layout to fit your kitchen space and style. This DIY approach saves money and adds functional workspace and storage to your kitchen.
What Is The New Trend Instead Of Kitchen Islands?
The new trend replaces kitchen islands with movable carts, built-in benches, or extended countertops for flexible, space-saving designs.
Is It Cheaper To Buy Or Build A Kitchen Island?
Building a kitchen island can be cheaper if you have skills and tools. Buying saves time and may cost less without DIY experience.
Conclusion
Building a kitchen island with Ikea cabinets saves money and adds style. You can customize it to fit your kitchen perfectly. The project is doable for most skill levels. With simple tools and clear steps, you get extra storage and workspace.
Enjoy your new island for cooking, dining, or gathering. This DIY idea brings function and charm together in one piece. Start planning, and transform your kitchen today!